Tuesday 19 September 2023

Little Ronnie the Diesel Engine.

This I.P. Engineering model is roughly based upon the O&K MD2 locomotive.

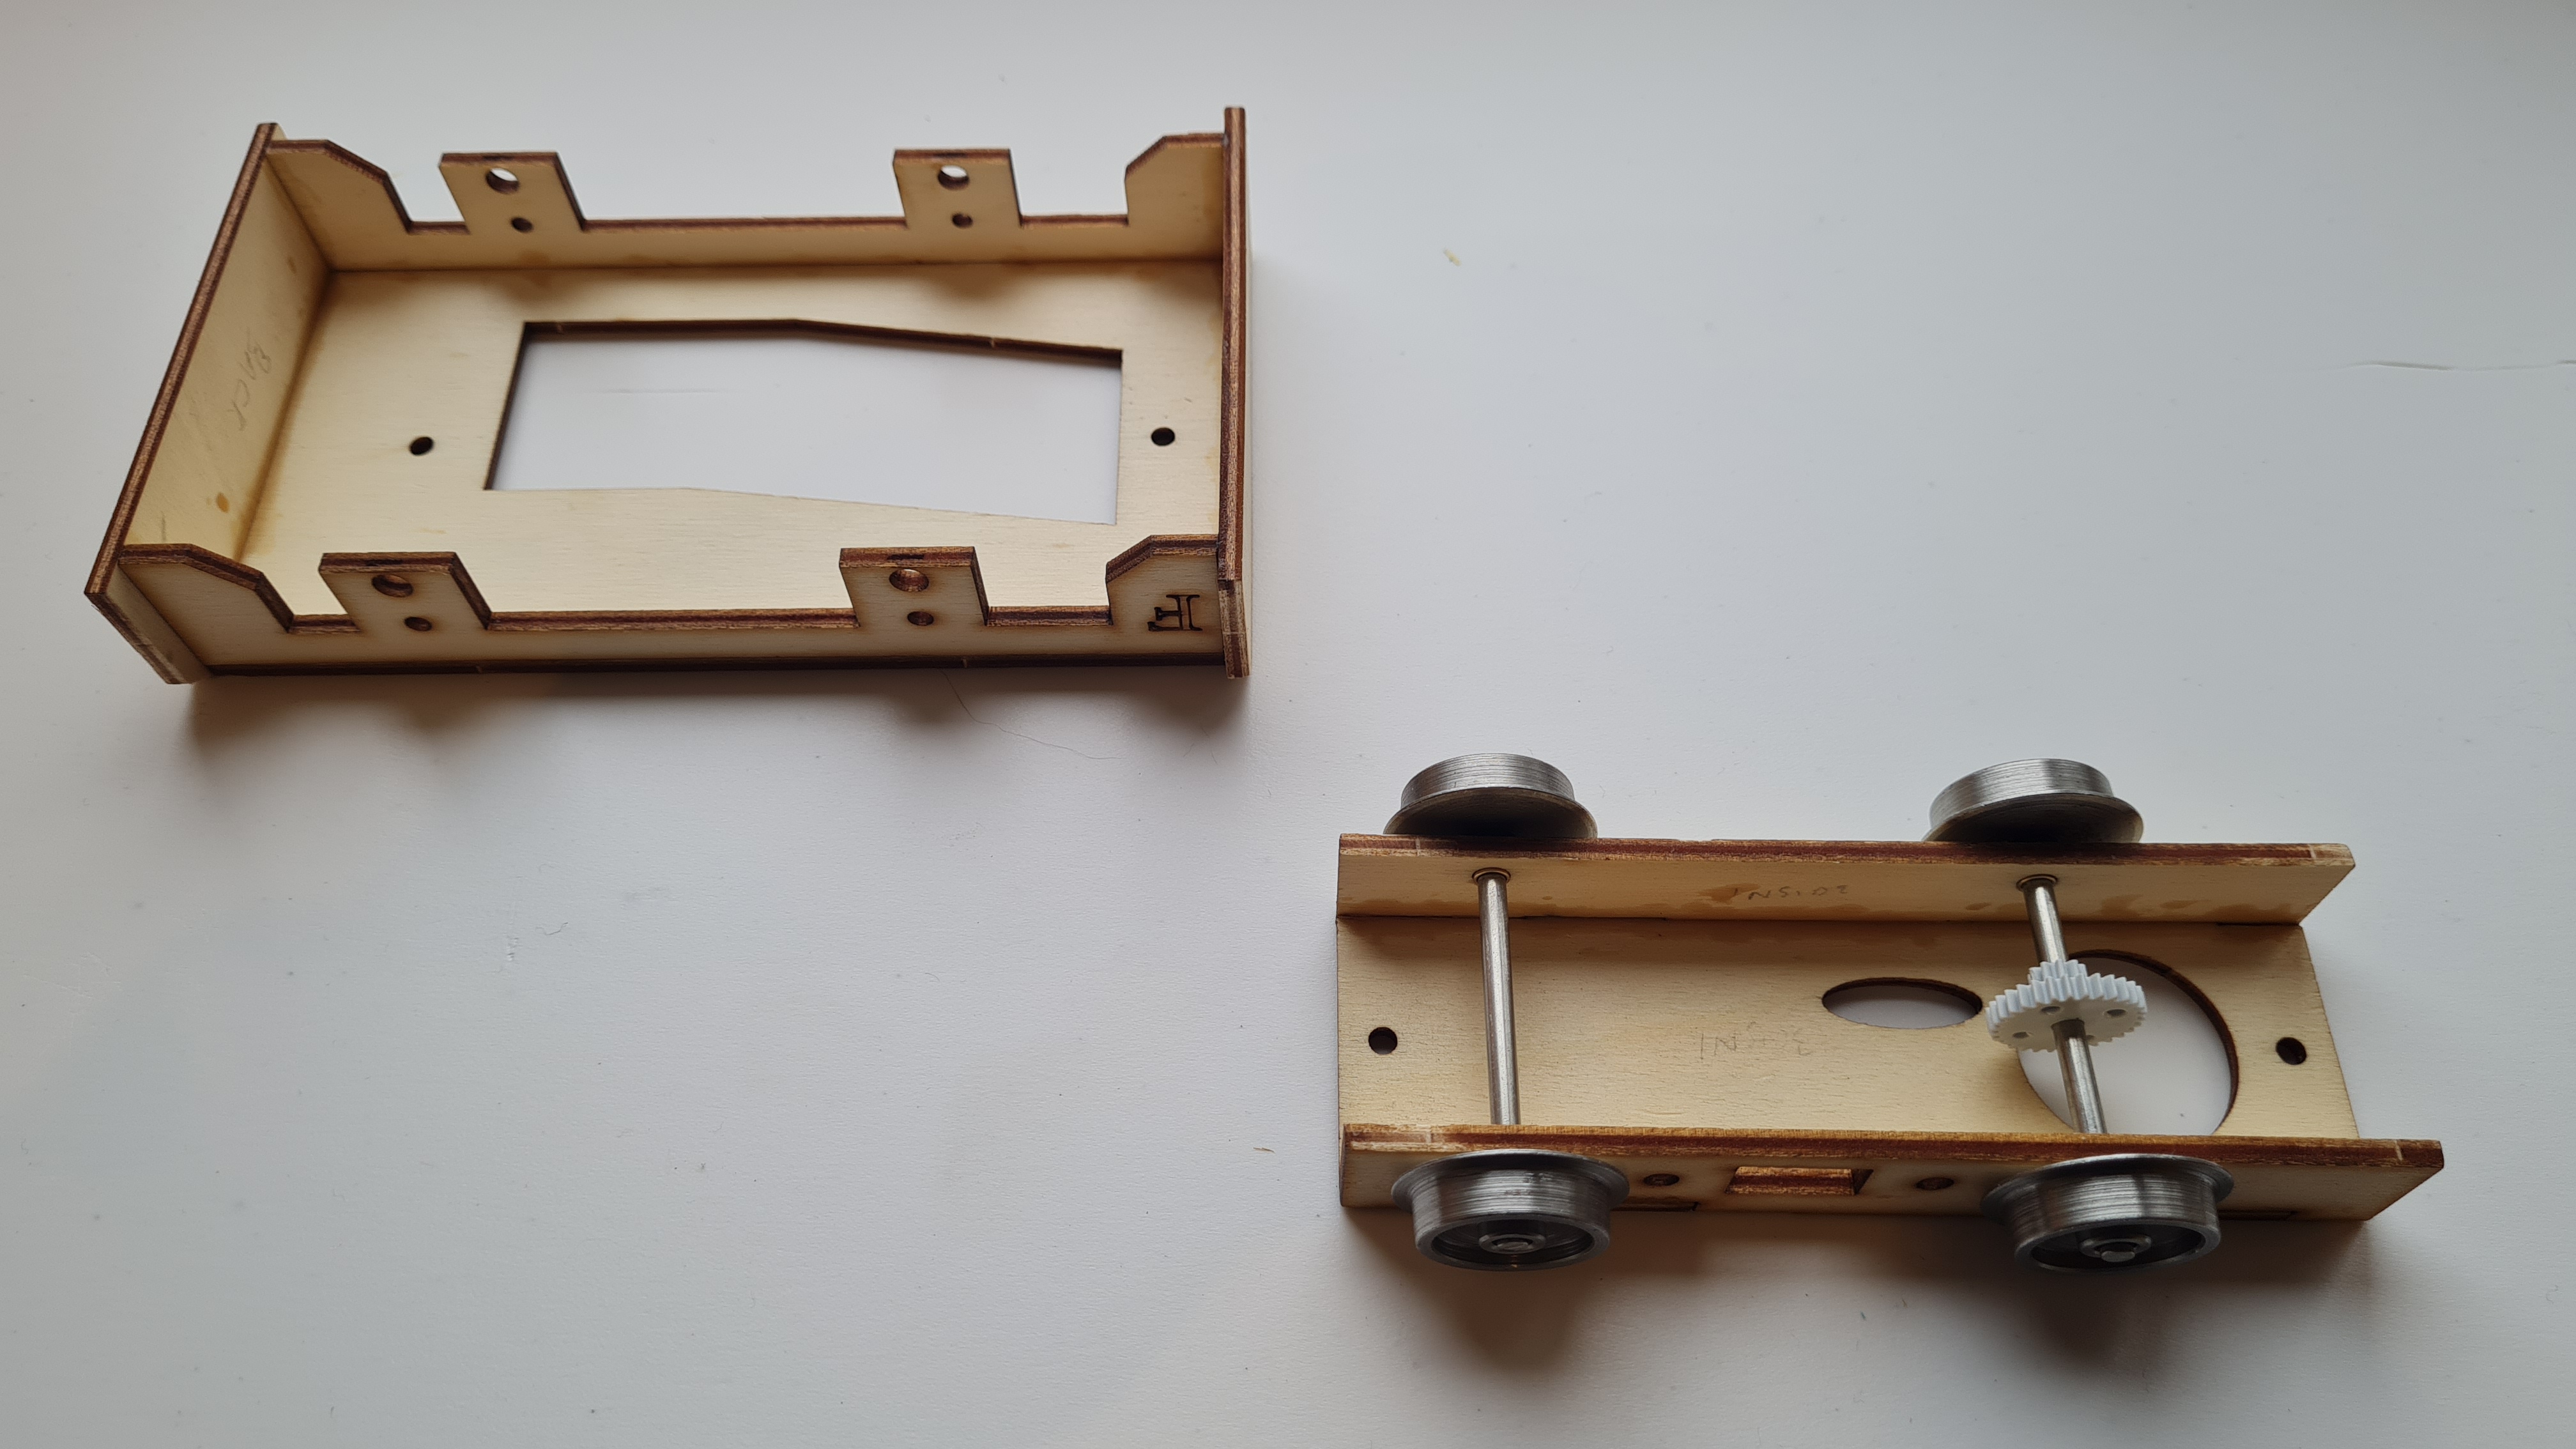
Starting with the sub-frame on which the body will be mounted, buffer beams were added, each with a forty five degree cut across the top corners.

Next the basic rolling chassis was constructed, together with the central gear for the motor.


The kit came with two little screws to mount the two sections together. I may have misunderstood the assembly instructions and couldn't see how they fitted, so I chose to use two small bolts with two threaded nuts. (those used to fit a mains light switch fascia plate). 

Putting the two sections aside, a start was made on the body. Starting with the engine housing, rivet detail was added to the front and two side panels (1/16" x 3/8"). As these would be hidden, they were left untrimmed. Once fixed the panels were glued and made square.


The cab was made in a similar way, again using rivet detail. These were glued in, cut to size and filed, with the cut offs kept for later use.


Both the engine housing and the cab were then glued together and checked for square.

Now was a good time to add the wiring from the motor to the battery pack via the three position switch.

With just a few more steps, the body and chassis are prepared for priming. Using the cardboard profiles included, the engine access doors and window trims were glued in place. The cut-offs from the rivets were added to the doors edge to create the appearance of hinges. Bolt heads were glued in place on the buffer beams. And lastly, an angled frame was centrally fitted to the front of the sub-frame. This will assist later when fixing the body to the sub-frame after painting.


Adding weight and motive adhesion, the cast white metal components were fixed in place on the sub-frame with epoxy resin. The body and sub-frame were subsequently primed with Humbrol grey primer.


The chassis was then spray painted with Halfords Acrylic Satin Black and Halfords Acrylic 'Fiat Red Orange' for the buffer beams. More weight was added once the couplings had been primed and painted.


With the couplings added the cab was presented to the body shop for spraying. Once masked off to protect the interior, the body was painted using Halfords Acrylic 'Peugeot Royal Blue'. Three coats later, the body was left to harden for twenty minutes or so before the tape was removed. Loosely fitted to the chassis, all was checked for appearance.


To enable the roof to be removed, just in case cab detailing was later required, the roof was pre-formed using plastic strips to the contour of the cab. An exhaust was added from SLR Models, secured with two small screws to the bonnet. A drawing pin and bead were used to create an air intake. Primed and painted with Halfords Acrylic Satin Black.


The body was then attached to the chassis using two small black screws fitted into the angled bracket at the front, below the radiator grill. A small block of wood (Jenga) was glued under the seat and then screwed through the chassis into the block.

I selected "Alwin" from Kara's Little Kharacters to be the driver. Painted and fitted onto his lovely soft red plush seat, he was ready to go.


The End.


Monday 18 September 2023

Home Signal


A 'Home' signal manufactured from hardwood and metal was required for the station, so GRS were called in to provide the necessary.

As kit DG965 is not supplied with a mounting plate, a cutoff piece of composite decking was utilised. This turned out to be ideal. A hole was cut into the top section of the board for the wooden post to pass through, with a small screw screwed through the lower section and into the foot of the post.

To create a plinth as a cosmetic mounting plate, a square piece of Foamex was added.

From the instructions only a couple of minor changes were made.

The stated measurements from the raised platform to the pivot plate and lamp bracket were each reduced by 10mm.

The raised platform was 270mm from the decking board.

The link wire was bent and adjusted to provide a suitable working mechanism.

The signal post, steps, platform and lantern were all primed and coated with Humbrol acrylic Gloss black and white. 

The signal and finial were painted with Tamiya acrylic Red.

A top coat of Humbrol Gloss varnish was applied to all.

Sunday 1 January 2023

Sylvanian Boat conversion


I got this for Christmas as an idea to convert into a more realistic barge for a track-side wharf. Any suggestions / ideas?

Tuesday 28 December 2021

Little Ryan the Diesel Engine

Starting with a P S Models chassis kit, this little engine was created. The chassis was easy to build with all the parts precisely cut and finished during manufacture. Bolt studs were added to the buffer beams. It was built and painted ready for the scratch building of the body.

The body was built from 3mm and 5mm Foamex and detailed with bits and pieces I had lying around.

The engine compartment was built using 5mm Foamex and detailed with wire mesh for the grill, a rigid plastic drinks stirrer for the exhaust and a thumb tack and bead for the vent. The compartment doors were surplus bits from an IP coach kit, 'hinged' with short pieces of copper wire.

Inside the cab, the supplied AAA battery holder was fitted and cabled through to the motor. The control panel had more miscellaneous bits fitted including a power switch, power gauge and two levers to simulate direction and power (made from brass studs). The floor was scribed to represent wooden boards.

The windows were fitted with metal washers and copper wire for the hand rails.

Primed with Humbrol primer and top coated with an airbrush using Humbrol 47 (Sea Blue) before a top coat of Vallejo Matt varnish.

The name plate was made from 2mm plastikard , gloss painted before 5mm lettering from Slaters was brass painted and applied.

Ted the driver (Modeltown) had to lose 5mm before he could be fitted into the cab, so he was cut in half and glued back together before being painted.


Saturday 7 August 2021

Coal Merchant

With all this coal needed to fuel the engines, N.Slack & Son moved in to the sidings of Giffers' End Station to supply the needs of HLR. The suppliers of the wooden hut were Modeltown and the builders were a local firm from the town.


Humbrol acrylics were applied by Homestyal Decorating Services, finished with a matt coating of varnish.

The staging/platform for the building was designed and built using Foamex.


After drawing the contour of the track on a piece of paper, the shape was transposed to the Foamex board.


The brick walls were created using two pieces of 5mm board stuck together and etched with the outline of bricks. Same for the under platform sections.

The coping stones slightly wider than the 10mm walls.
All platform paint used was Reeves acrylic. The platform edge was left, unpainted.


All finished off with a matt coating of varnish.


Sunday 17 January 2021

You can never have enough people

One of the railways IP Engineering coaches came into the workshop recently for some routine maintenance. As this included roof repairs, the team decided that it was a good opportunity to invite patrons of HLR to ride the refurbished coach.

So they needed their Sunday best, as well as Jane, who needed some new overalls, courtesy of Modeltown!